Getting Started
Follow these steps to get your Blotch Frame up and running.
1. Unbox Your Frame
Open the box and take out your Blotch Frame. Inside, you will also find a USB-C charging cable.
2. Turn It On
Flip the power switch on the back of the Frame. You should see a startup screen appear on the display.
If the screen does not turn on, connect the included USB-C cable to charge the Frame for a few minutes, then try again.
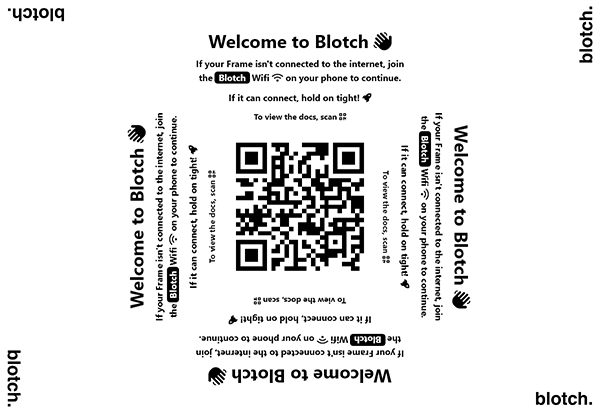
3. Connect to WiFi
Once the Frame is powered on, it will display a WiFi network name on screen in the format Blotch - WXYZ.
- On your phone, open your WiFi settings and connect to the network shown on the
Frame - A setup window will appear on your phone automatically
- Select your home WiFi network from the list
- Enter your WiFi password and tap Connect
The Frame will connect to your home network and proceed to the next step.
4. Link to Your Account
Once connected to WiFi, a QR code will appear on the Frame.
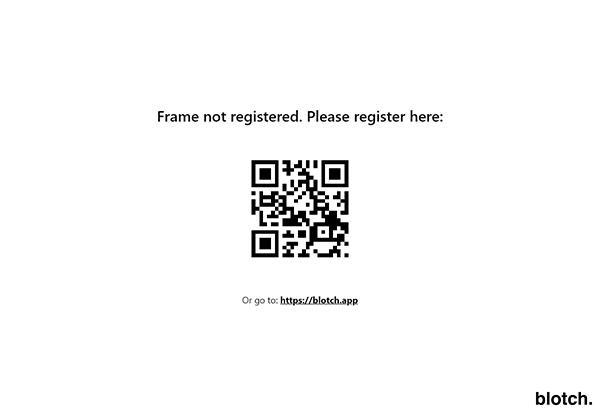
Scan the QR code with your phone's camera to link the Frame to your Blotch account. If you do not have an account yet, this step will guide you through creating one.
5. You're All Set
Once linked, the starter Page will appear on your Frame. Your setup is complete!
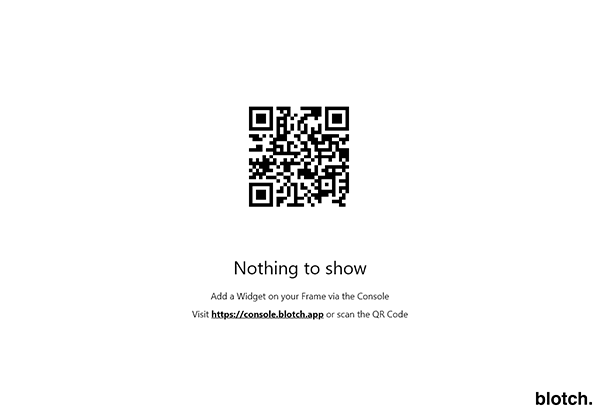
6. Start Customizing
For the best experience, head over to the Blotch web app on your computer:
From there, you can:
- Add or remove
Widgetson the starterPageto show the information you care about - Create new
Pageswith different layouts andWidgetsfor different purposes - Set up a
Scheduleto control whichPageappears at different times of the day
Try showing a Page with train times and your calendar in the morning, and switching to a Page with your to-do list, financial updates, or your favorite web comic in the evening. The possibilities are endless!
To learn more, check out the Page Builder and Schedule Editor guides.